
How to Talk to Verity in Minecraft: Text, Microphone and Voice
In Verity JE, configure the AI first, then use normal text chat; the supplied Java controls use V for push-to-talk and M to cycle microphones. Bedrock controls depend on the addon author, and a text reply with no sound points to a different layer from no reply at all.
Updated
Begin with a text reply
Send a short new message in the normal chat box after completing AI setup. Look for a new answer that responds to your message. Hearing the initial introduction does not prove the language model is connected.
The Java project says the AI supports multiple languages, but its speech-to-text and text-to-speech testing is in English. If you are testing another language, start with typed conversation rather than assuming microphone and voice parity.
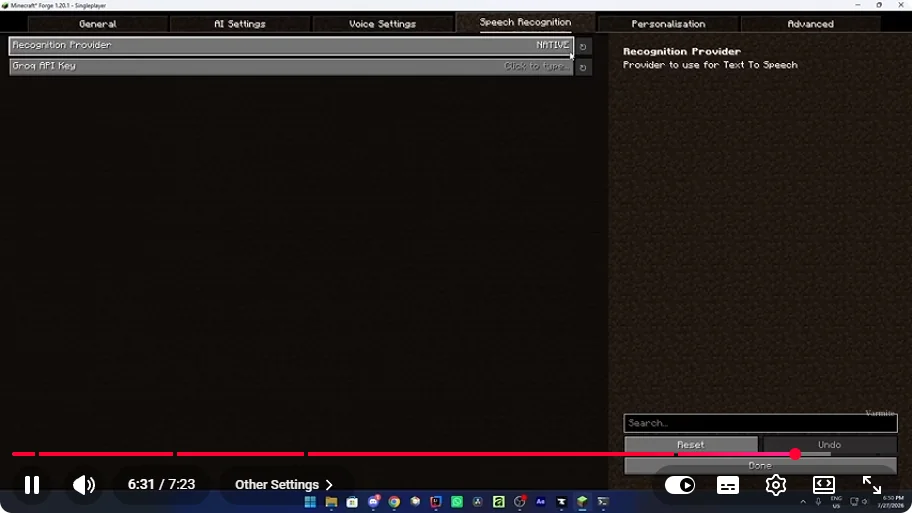
Use the Java microphone controls
- Check Options → Controls for the actual Verity bindings in your installed release. The supplied Java tutorials use M to cycle microphones and V for push-to-talk; customized bindings take precedence.
- Select the intended microphone, hold the push-to-talk binding, speak a short sentence and release it. Check that the expected words are recognized before diagnosing the model’s answer.
- If typed chat works but microphone input does not, check the selected device, operating-system microphone permission and the Speech Recognition provider. Some providers need a separately configured service or key.
Avoid changing several layers at once. A keyboard binding conflict is worth checking, but this site has not reproduced one or identified a universal conflicting mod.
Check spoken output separately
| What you observe | Check next |
|---|---|
| Introduction plays, but no relevant answer | AI provider, key/model or local service |
| Typed question receives an answer; microphone does not | Input device, binding, permission and speech recognition |
| A new text answer appears; nothing is spoken | Use TTS, voice provider, its settings and the chosen audio output |
| Only dots or a connection error | The appropriate project’s AI/backend connection |
The Voice Settings tab contains Use Text To Speech (TTS) and its provider/voice controls. Enable the intended output and save. A third-party voice selection does not make it JustWhispy’s original film performance.
Bedrock: use the author’s wake phrase
PnTMC: with the bridge connected, chat normally when Verity is on the ground. If he is in your inventory, begin with Hey Verity. The author says proximity matters. The iOS a-Shell guide does not support microphone input or !talk, so use text there.
Utlover65: its page says to begin with Verity followed by the message, and explicitly says distance does not matter. Its debugger/backend connection is different from PnTMC’s /connect bridge.
If you are unsure which one you installed, check Bedrock project names and connection steps before borrowing a command from a video. None of these controls guarantees the scripted dialogue or behavior seen in ThatMob’s films.
Sources: Varmite’s setup, microphone tutorial, PnTMC setup, Utlover65.