
Verity Minecraft AI Setup: Providers, Keys and Versions
For the Verity JE 6.0 setup shown by Varmite, choose an AI provider in the mod’s config, pair its key with a model it can serve, and save. Groq, OpenRouter and the local Ollama path are different choices; Bedrock uses its own author-specific connection.
Updated
Open the right configuration
Start from a loaded Java installation, then open Mods → Verity → Config → AI Settings. The creator’s 6.0 tutorial shows AI Provider, API Key (not with Ollama), AI Model and Thinking Mode, with a Save Changes button. Choose a provider first so the key and model belong to the same service.
The tutorial was made for the 6.0 setup. The final 6.0.0 file notes a changed local-AI implementation, so its exact options may differ from an earlier beta. Follow your installed screen and its file notes rather than mixing settings from older tutorials.
Cloud setup: Groq or OpenRouter
- Select Groq or OpenRouter in AI Provider. Groq is the service at console.groq.com; the auto-generated captions sometimes transcribe its name as “Grok.”
- Create a key in that provider’s own account dashboard. Paste it into the mod’s private key field. An OpenRouter key does not authenticate to Groq, and a web-chat subscription is not itself an API key.
- Find a model available to your provider account and copy its exact model identifier into AI Model. Preserve punctuation and any provider prefix the service requires. Avoid copying an old video’s model ID as though it were permanently available.
- Save, return to the world, and type a simple new question. Check the answer addresses that question; the box’s introductory line alone does not establish an LLM connection.
Varmite turns Thinking Mode off in the example to reduce response delay. That is an example setting, not a measured speed promise for every model.
Provider limits, model access and prices can change. Check the service’s current account terms before submitting payment; this guide does not promise unlimited free cloud conversation. Never post a key as a chat message or include it in a shared config archive. Replace an exposed key through its provider.
Local setup: Ollama
Install Ollama from its own download site and choose a model your computer can run alongside Minecraft. Download it with the model’s documented ollama pull command. For example, the command pattern is ollama pull <model-id>; replace the placeholder with a real available model name rather than typing the brackets.
Select Ollama in Verity’s AI Provider, use the exact installed model name, and save. The creator’s screen explicitly marks the cloud key field as unused with Ollama. Keep Ollama running while testing a new chat message. An initial model load can take time; if it fails, check that the model was downloaded and the local service is running before repeatedly changing the mod installation.
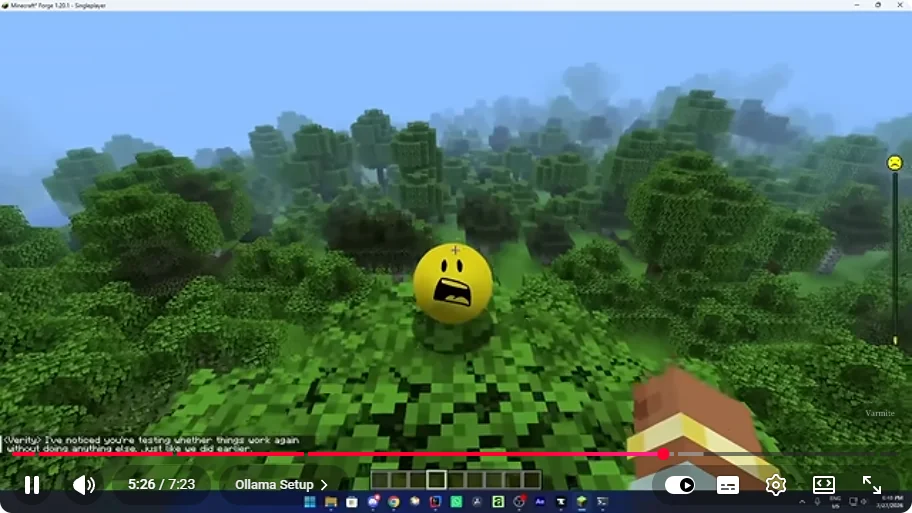
The creator demonstrates a local response around 5:25. This does not establish that cloud speech recognition or TTS is also offline. Choose and verify those layers independently. There is no universal GPU requirement or response-time guarantee here.
Separate the model, microphone and voice
| Layer | Config section | What it does |
|---|---|---|
| Language model | AI Settings | Generates the reply |
| Speech recognition | Speech Recognition | Converts your microphone input to text |
| Spoken output | Voice Settings | Reads the generated reply aloud |
First verify text conversation. Then enable Use Text To Speech (TTS) and choose a voice provider available in your build. The creator shows native, local and separately configured speech choices; an advanced Kokoro or Whisper service needs its own setup. Do not infer its endpoint or credentials from an unrelated extension.
The base 6.0 tutorial already shows OpenRouter. It is not exclusively an extension feature. A separate addon advertising Gemini or another backend does not prove that your installed base build exposes the same option. Use only options actually present and documented for that build.
For input controls and missing audio, use talking to Verity. For Bedrock, use the selected author’s bridge or debugger setup; these Java settings are not Bedrock instructions.
When there is no reply
Check the selected provider, its key, and the exact model name as one group. Read any error before changing other settings: a refused key is different from a model that is unavailable or a stopped local service. If text replies already appear, keep the model configuration and troubleshoot speech output separately.
Cloud AI receives the messages and game context the mod sends to that provider. Keep secrets out of conversation, and check the mod and service descriptions before using private information. A local model choice alone does not prove every optional voice service stays local.
Source: Varmite’s full 6.0 setup tutorial and author project. The instructions are source-based, with menu/result frames inspected; they do not certify a working connection on this reader’s machine.